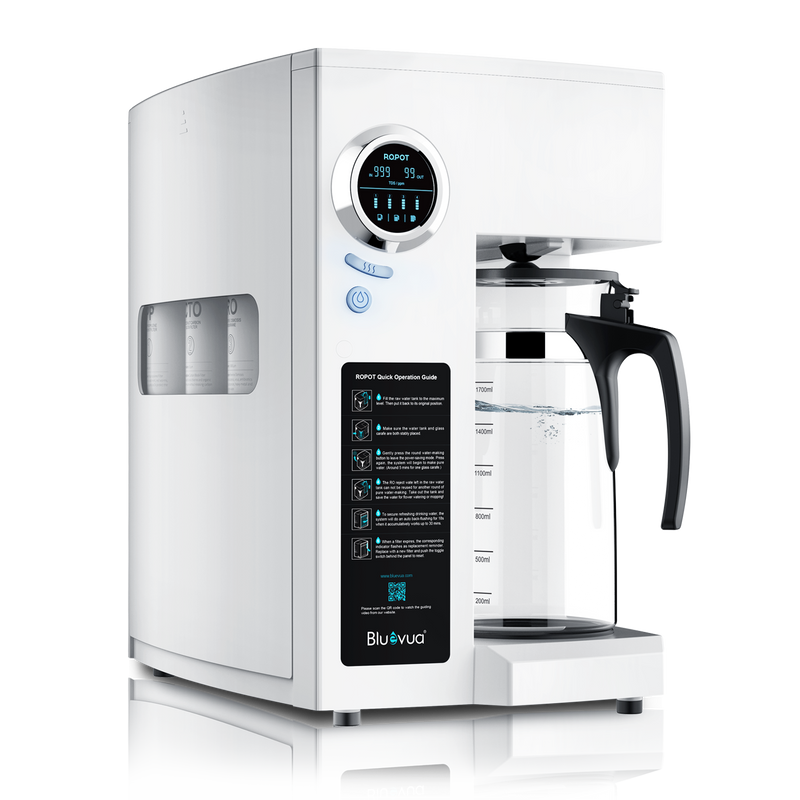
Unlock the Secrets of RO Water Filters: Transform Your Water Experience Today!
In an era where health and wellness are paramount, the demand for clean, safe drinking water has surged. RO water filters, or Reverse Osmosis water filtration systems, have become increasingly popular in households, transforming ordinary tap water into pure refreshment. Clean water is crucial not only for hydration but also for overall health, as it can significantly reduce the risk of waterborne diseases and contaminants. This article will delve into the mechanics of how RO systems work, the myriad benefits they offer, and the essential steps for installation. Whether you're considering an upgrade to your home water system or just curious about the technology, this exploration will equip you with the knowledge needed to make an informed decision.

Understanding RO Water Filter Systems
Reverse Osmosis (RO) water filter systems are advanced filtration solutions designed to purify drinking water. The process of reverse osmosis involves pushing water through a semi-permeable membrane that allows only water molecules to pass while blocking contaminants such as salts, minerals, and larger particles. This technology sets RO apart from traditional filtration methods, which may only remove larger impurities and leave behind dissolved solids. An RO system typically consists of several components, including pre-filters for sediment and chlorine removal, the RO membrane, a storage tank, and a post-filter for final purification. This multi-stage process ensures that the water you consume is not only clear and odorless but also free from harmful pollutants. It’s fascinating to note that the concept of reverse osmosis was first discovered in the 1950s and has since evolved into a widely trusted method for achieving the highest water purity standards.
Benefits of Using an RO Water Filter
The benefits of using an RO water filter system are numerous and compelling. Firstly, one of the most noticeable advantages is the improvement in water taste. Many users report that their water tastes fresher and cleaner after being treated through an RO system. This enhancement is largely due to the removal of chlorine, heavy metals, and other harmful substances that can give water an unpleasant flavor. Additionally, RO systems are effective in removing up to 99% of contaminants, including lead, mercury, and arsenic, contributing to better health and safety. Studies have shown that access to filtered water can reduce the risk of gastrointestinal diseases, making it particularly beneficial for households with young children or immunocompromised individuals. Moreover, using an RO system can be more environmentally friendly than buying bottled water, thus reducing plastic waste. A friend of mine who installed an RO system in her kitchen often shares how it not only improved her family's health but also their overall lifestyle, as they now rely less on single-use plastic bottles.
Installation Process of RO Water Filters
Installing an RO water filter system may seem daunting, but it can often be a straightforward process with the right tools and preparation. The first step involves gathering necessary tools, such as a wrench, a drill, and a bucket to catch any excess water during installation. Before starting, ensure that you have all components of the RO system on hand, including the membrane, filters, and storage tank. The installation typically begins with shutting off the water supply and draining the faucet. Next, you will need to install the pre-filters and membrane into the designated housing and connect the system to the cold water line. A common mistake people make is not thoroughly reading the installation manual, which can lead to misconfiguration. While many homeowners choose to undertake this as a DIY project, professional installation is recommended for those who may be less confident with plumbing tasks. This ensures that the system operates efficiently and safely.
Maintenance Tips for Your RO Water Filter
Maintaining an RO water filter system is crucial for ensuring optimal performance and longevity. Regular filter replacement is necessary, typically every six to twelve months, depending on the water quality and usage. It's important to monitor the system for any leaks or pressure drops, as these can indicate issues that require immediate attention. Cleaning the system periodically can also help maintain its efficiency; many systems come with specific cleaning instructions that should be followed. Additionally, users should familiarize themselves with troubleshooting common problems, such as slow water flow or poor taste, which can often be resolved by checking the filters or the membrane. Keeping a maintenance schedule can prevent costly repairs and ensure that your water remains pure and refreshing.
Summary of RO Water Filter Advantages
In summary, RO water filter systems offer a remarkable solution for anyone looking to improve their drinking water quality. With their advanced filtration technology, they not only enhance the taste and safety of water but also promote better health and environmental sustainability. As we’ve explored, the installation process can be manageable with some preparation, and regular maintenance ensures continued optimal performance. If you're considering making a change to your water filtration, an RO system could be the transformative upgrade you need for your home. Clean water is essential for a healthy lifestyle, so take the next step towards ensuring that your family has access to the best drinking water possible.


